Making stamps
Making stamps
I think I have figured out how to make some workable stamps.
A long time ago I tried and failed at making stamps that I would use. I think the problem was I tried to create stamps that were like the manufactured kind. Once I set my sites on something I drew instead of a perfect stamp I think I was more satisfied with the results.
Here is what I did.
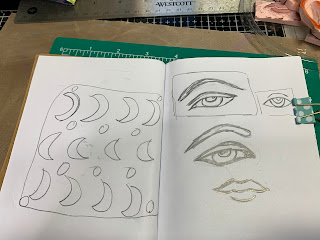
I first drew some things I already and comfortable with like eyes and a mouth. Then I marked my drawing to indicate what outlines I wanted to show. Once I designed something I was happy with I penciled in marks that would transfer to my carving block.
I placed the pink block and pressed on the image to transfer it to the block.
From there it took a bit of time to remove the unmarked areas. That to me is the hardest part using a knife, razor carving set, to remove the unneeded part of the block is the most difficult part of this process. If you can live with a few mistakes and make adjustments as needed I think it can work.
Here is what I came up with;
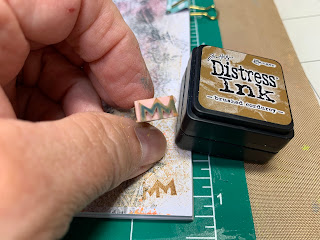
So here are a few of my stamps I made a tiny lady bug, mouth and eye outline. The larger black one is a background stamp I just kept drawing lined in all directions. The end result is stamped below.
After stamping my image I outlined it and colored it in. I have to adjust to doing it this way but overall it is quirky and I like that. The lips came out perfect considering it takes me so long to get them right I was very happy with the result. I think it can only get better.
The page on the right is the result of the back ground stamp. This is going to get really cool.
I was having such difficulty getting this piece to work out I decided it didn't need to have a backing so I used my facto knife to cut away any pieces I wasn't happy with or needed. Although there are holes it doesn't matter I have the outline I wanted. I then glued some leftovers onto so I had a handle and it works! It may not last long but It's my first try so over time I may figure out a better way.


Comments
Post a Comment